Example Lead Paint Projects in Irving

Five lead paint jobs, from one dust test to a stair railing replaced, each with the house, what was found, the work and a rough price.

These are examples, not past jobs, clients or addresses. They come from the ages of local homes, how lead work is done and 2026 price ranges, so you have somewhere to start before asking for a quote.

Lead-safe repair of chipped window sills in a rented house

Example project
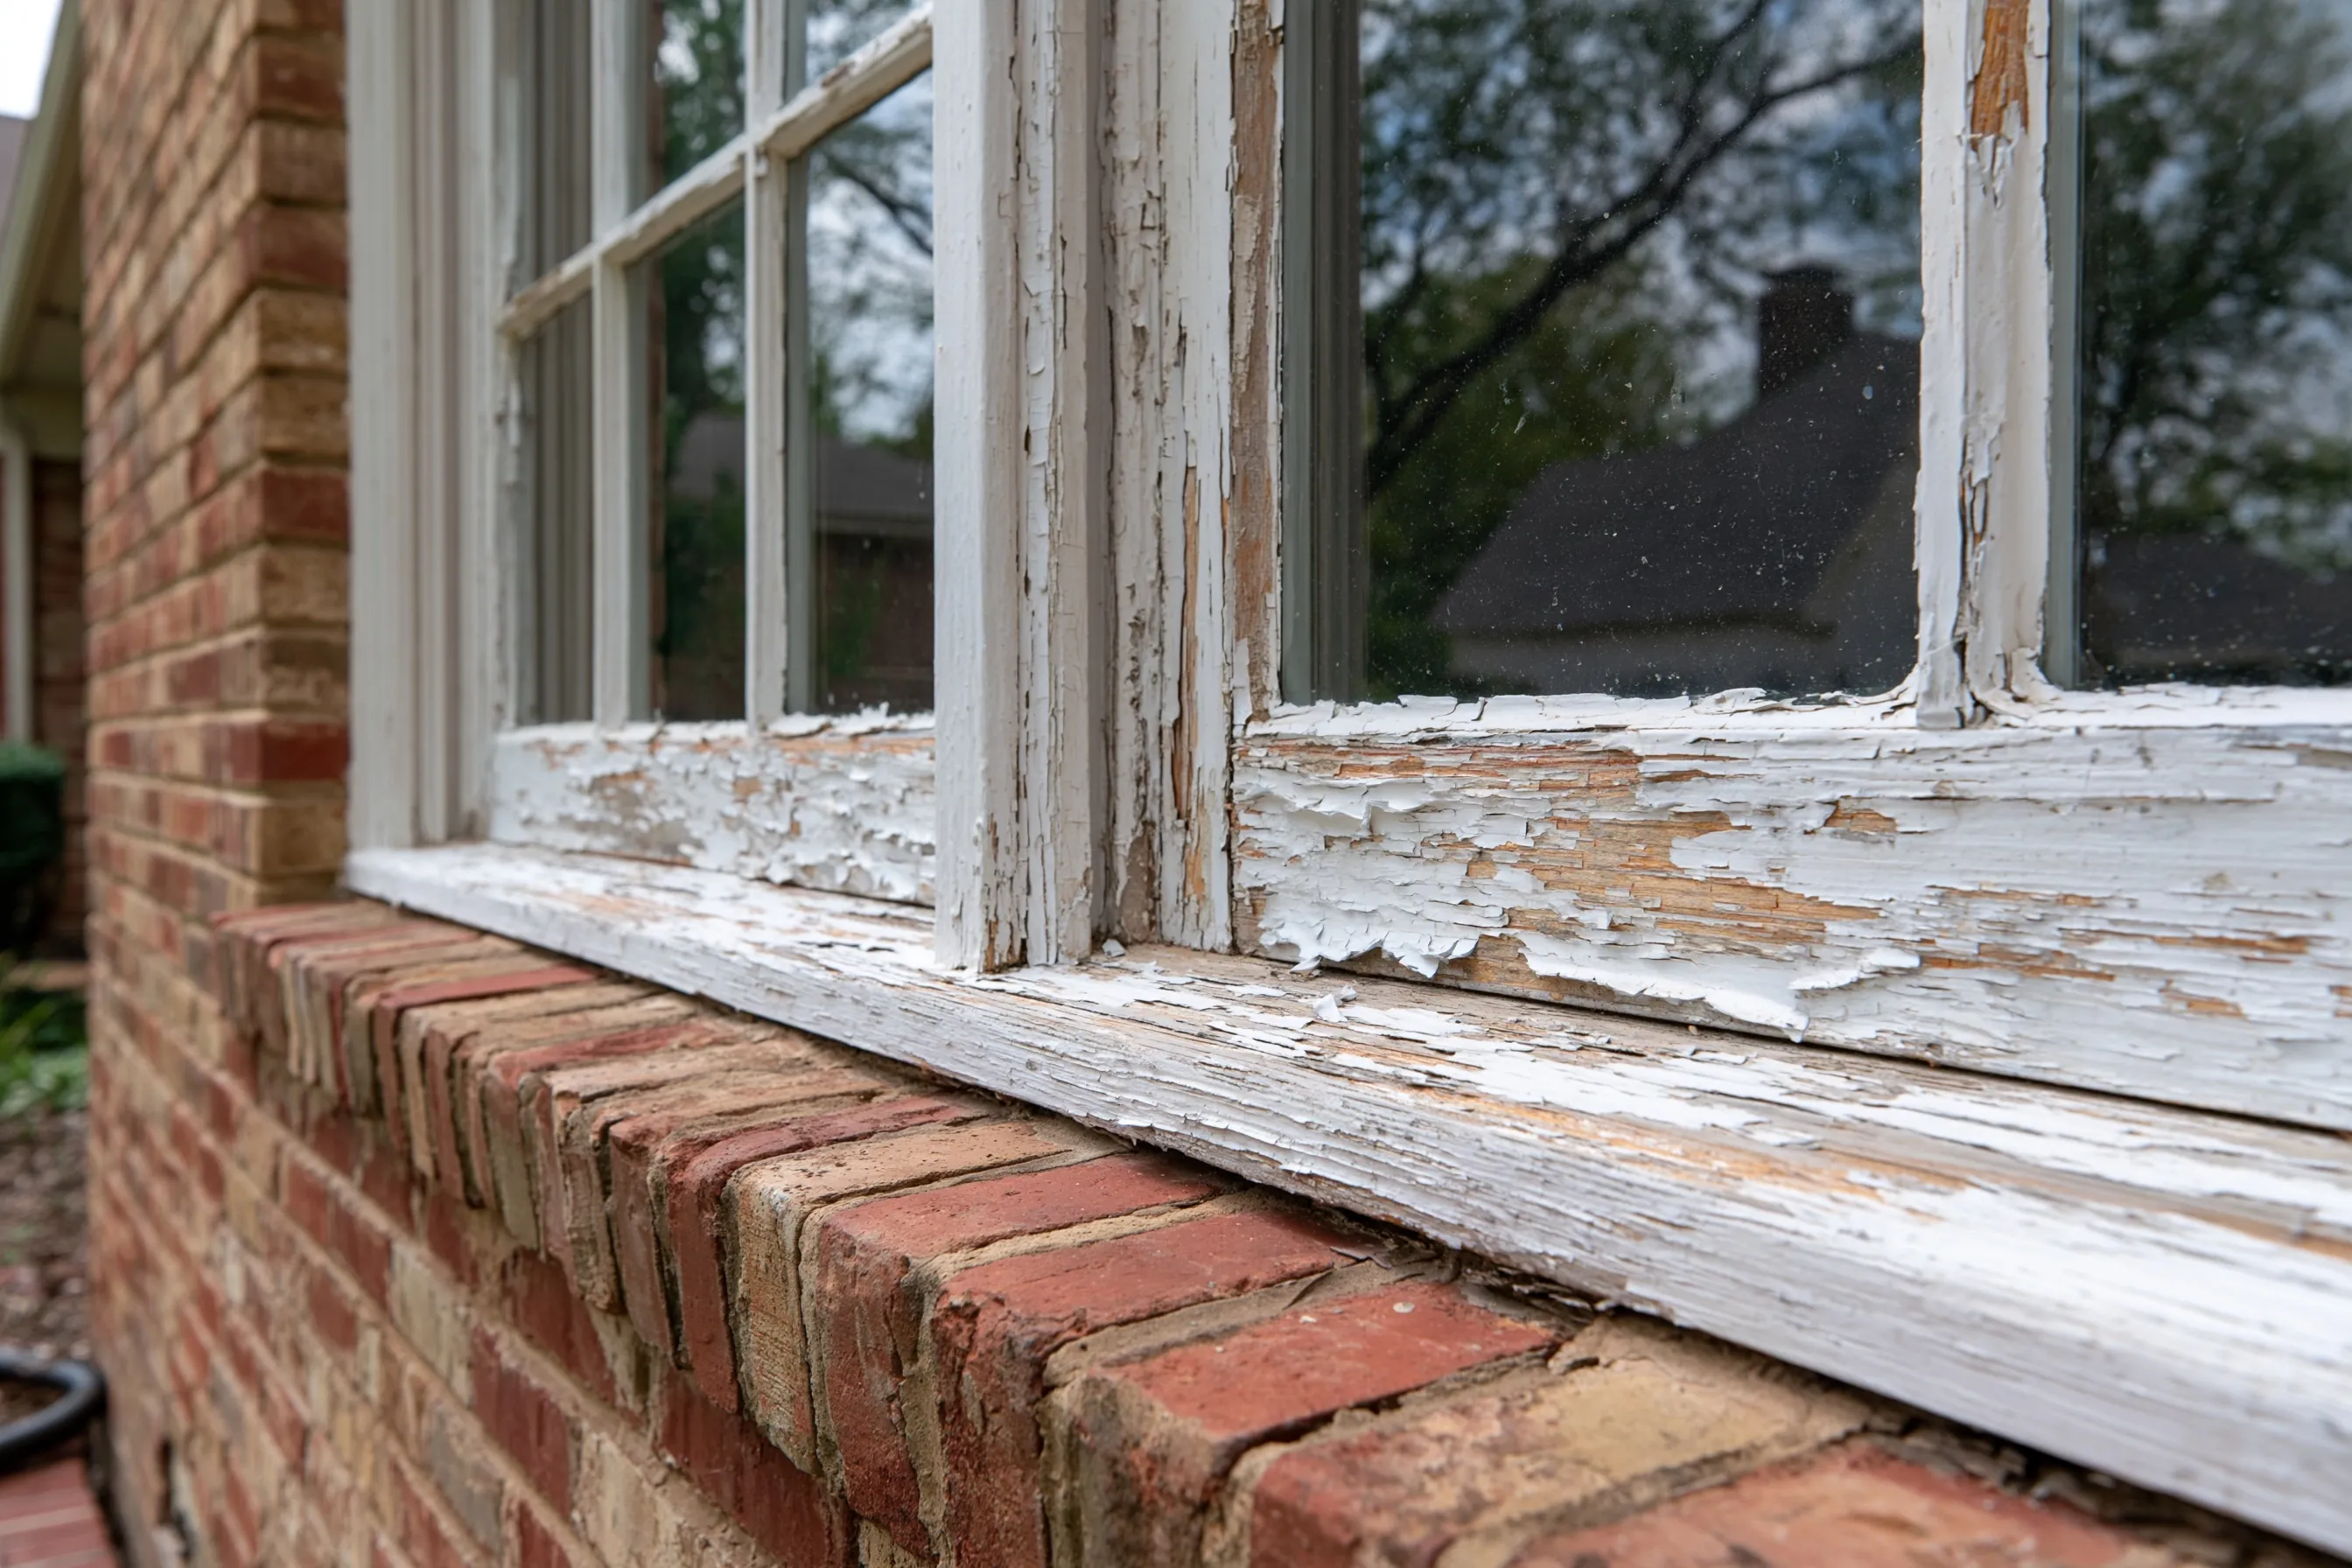
Close view of old white wood windows with divided upper panes and sills peeling to bare wood in a brick wall
Home
1960s single-story brick house in Irving, about 1,400 sq ft, rented
Original request
The tenant asks about paint chips on the window sills
Testing
Lead paint on the sills and lower frames of all ten windows, inside and out
Work
Loose paint misted and scraped by hand, primer and two coats, inside and out
Occupied
The tenant stays; each room is closed off while its windows are done
Estimated cost
$2,600

Scope of work

Plastic on the floor inside each window and on the ground outside, loose paint on the sills and lower frames misted and scraped by hand, chips bagged, primer and two coats of lead-free paint, HEPA vacuuming and a wet wipe of each room, and a dust test of the floors and sills at the end. New sashes and glass are not part of this price.

Project overview

In this example, a family renting a 1960s brick house in Irving notices paint chips on the window sills, where their small child likes to stand and look out. They ask the owner to check, and a test shows lead paint on the sills and lower frames of all ten windows.

The lease has months to run, so the owner wants a fix that lets the family stay. Each room is closed off with plastic while its windows are scraped and painted, and the work is a lead-safe repair rather than abatement. The dust test at the end gives the owner a record for the file.

The goal

The goal is sound, painted sills and a clean dust test, with the family living in the house the whole time.

Process

  1. Testing Paint on the windows tested, and a plan agreed with the owner and the tenant.
  2. Setup Furniture pulled away, plastic under the first windows inside and out, the room shut off.
  3. Paint work Sills and frames misted and scraped by hand, then primed and painted, one room at a time.
  4. Cleanup HEPA vacuuming, a wet wipe of every surface and the plastic folded inward and bagged.
  5. Dust test Wipes from the floors and sills sent to a lab, with the results given to the owner.

Planning right

  • The owner, or anyone the owner pays, needs to follow the federal lead-safe rules for this work.
  • Painting over loose paint does not last. The loose layers come off first, with misting to keep the dust down.
  • Keep the test and the dust results. They go with the disclosure at the next lease.
  • Sills that rub or take rain will wear again. Check them each spring.

Get a free quoteMore about rental property lead hazard control
Lead inspection before tearing down a 1950s house

Example project

Home
1950s ranch house in Farmers Branch, about 1,400 sq ft
Original request
Know what the demolition crew is dealing with before the house comes down
Inspection
Every type of painted part read with a handheld analyzer; lab chips where a reading is unclear
Found
Lead paint on the exterior trim, the fascia and the kitchen cabinets; none on the interior walls
Report
A written list of what tests positive and what does not
Estimated cost
$520

Scope of work

A walk through every room and around the outside, readings on walls, trim, doors, windows, cabinets, fascia and eaves, paint chips to the lab where a reading is unclear, and a written report the owner can hand to the demolition contractor.

Project overview

In this example, the owners of a 1950s ranch house in Farmers Branch plan to tear it down and build a new home on the lot. Before they sign with a demolition contractor, they want to know which painted parts of the house carry lead paint.

Demolition of painted surfaces in a pre-1978 house falls under the federal lead-safe rules unless testing shows the paint is not lead paint. A full inspection tells the contractor exactly which parts need care, so the crew can plan sheeting, misting and cleanup where they are needed.

The goal

The goal is a demolition contractor who knows which parts carry lead paint before the first wall comes down.

Process

  1. Booking Build year confirmed and every room made reachable for the inspector.
  2. Inspection Each painted part read, inside and out; unclear readings checked with lab chips.
  3. Report Positive and negative parts listed for the demolition crew.

Planning right

  • Test before the demolition bids, so each contractor prices the same job.
  • A city program for tearing down and rebuilding does not replace the lead rules.
  • Soil by the old fascia line can hold paint chips. Ask about it before new beds or a slab go in.
  • Keep the report with the lot papers.

Get a free quoteMore about lead risk assessment

Lead-painted stair railing replaced in a two-story house

Example project

Home
1970s two-story house in Irving, built before 1978
Original request
Get the lead paint off the stairs for good, with a toddler in the house
Testing
Lead paint on the handrail, newel post and balusters; the stair walls test clear
Method
The painted rail, newel and about 26 balusters taken out and replaced
Notice
State notice filed seven working days or more before work; the family sleeps elsewhere until clearance
Estimated cost
$1,650

Scope of work

The stairwell and the hall below sealed off with plastic, the painted handrail, newel post and balusters taken out whole rather than stripped, the waste wrapped and bagged, HEPA vacuuming and a wet wipe of the stairs and hall, and a clearance test. The new rail and balusters from the stair carpenter are priced separately.

Project overview

In this example, the owners of a 1970s two-story house in Irving have a toddler who chews on the stair balusters. A test shows lead paint on the handrail, newel post and balusters, and they want it gone for good.

Stripping some 26 turned balusters by hand is slow, so the painted parts are replaced instead. Because the aim is to remove the lead paint, the job is abatement. The firm tells the state before starting, and the family sleeps elsewhere until the clearance test passes.

The goal

The goal is a staircase with no lead paint on the parts a child can reach, and a clearance report to prove it.

Process

  1. Notice Notice sent to the state at least seven working days before work; the new rail ordered.
  2. Setup Stairwell and hall below sealed off with plastic, the family away.
  3. Removal Rail, newel and balusters taken out whole, wrapped and bagged.
  4. Cleanup HEPA vacuuming and a wet wipe of every step, wall and the hall floor.
  5. Clearance Dust wipes sent to a lab before the family comes home and the new rail goes in.

Planning right

  • Replacing a painted part is often quicker than stripping it, and the lead leaves the house with it.
  • Turned balusters do not sand well. Sanding them would spread far more dust.
  • The new rail goes in after clearance, so the new wood starts clean.
  • Keep the clearance report. A buyer is owed a copy.

Get a free quoteMore about interior lead paint abatement

Lead dust test before a family rents an older house

Example project

Home
1950s rented house in Irving
Original request
Check for lead dust before signing a lease, with a toddler in the family
Samples
Six dust wipes from floors and window sills in two bedrooms and the living room
Result
All six below the level that would call for cleaning
Report
Lab results in writing for the family and the owner
Estimated cost
$420

Scope of work

A visit with the owner present, a look at the paint on the doors, windows and trim, six dust wipes from the floors and sills of the rooms the child will use, lab analysis, and the results in writing.

Project overview

In this example, a family with a toddler is about to rent a 1950s house in Irving. The lead disclosure says the owner knows of no lead paint, but has no test either, and the family wants to know about dust before they sign.

A dust test does not say where lead paint is. It shows whether lead dust is on the floors and sills now, which is what a young child picks up. Here the six wipes come back below the level that would call for cleaning, so nothing more is needed before the move.

The goal

The goal is a family that moves in knowing the floors and sills are clear of lead dust.

Process

  1. Visit The rooms the child will use chosen with the family and the owner.
  2. Sampling Six wipes taken from floors and sills, each bagged and labeled.
  3. Lab Wipes analyzed, then the results sent to the family and the owner.

Planning right

  • A renter can ask for a test, but the owner is not required to arrange one. Agree who pays first.
  • Dust results show today only. Paint that wears later can change them.
  • If a room fails, cleaning and a second test come next.
  • Watch the sills and the floor under them. That is where dust settles.

Get a free quoteMore about lead dust cleaning and clearance testing

Four rubbing hall doors rehung in a 1960s house

Example project

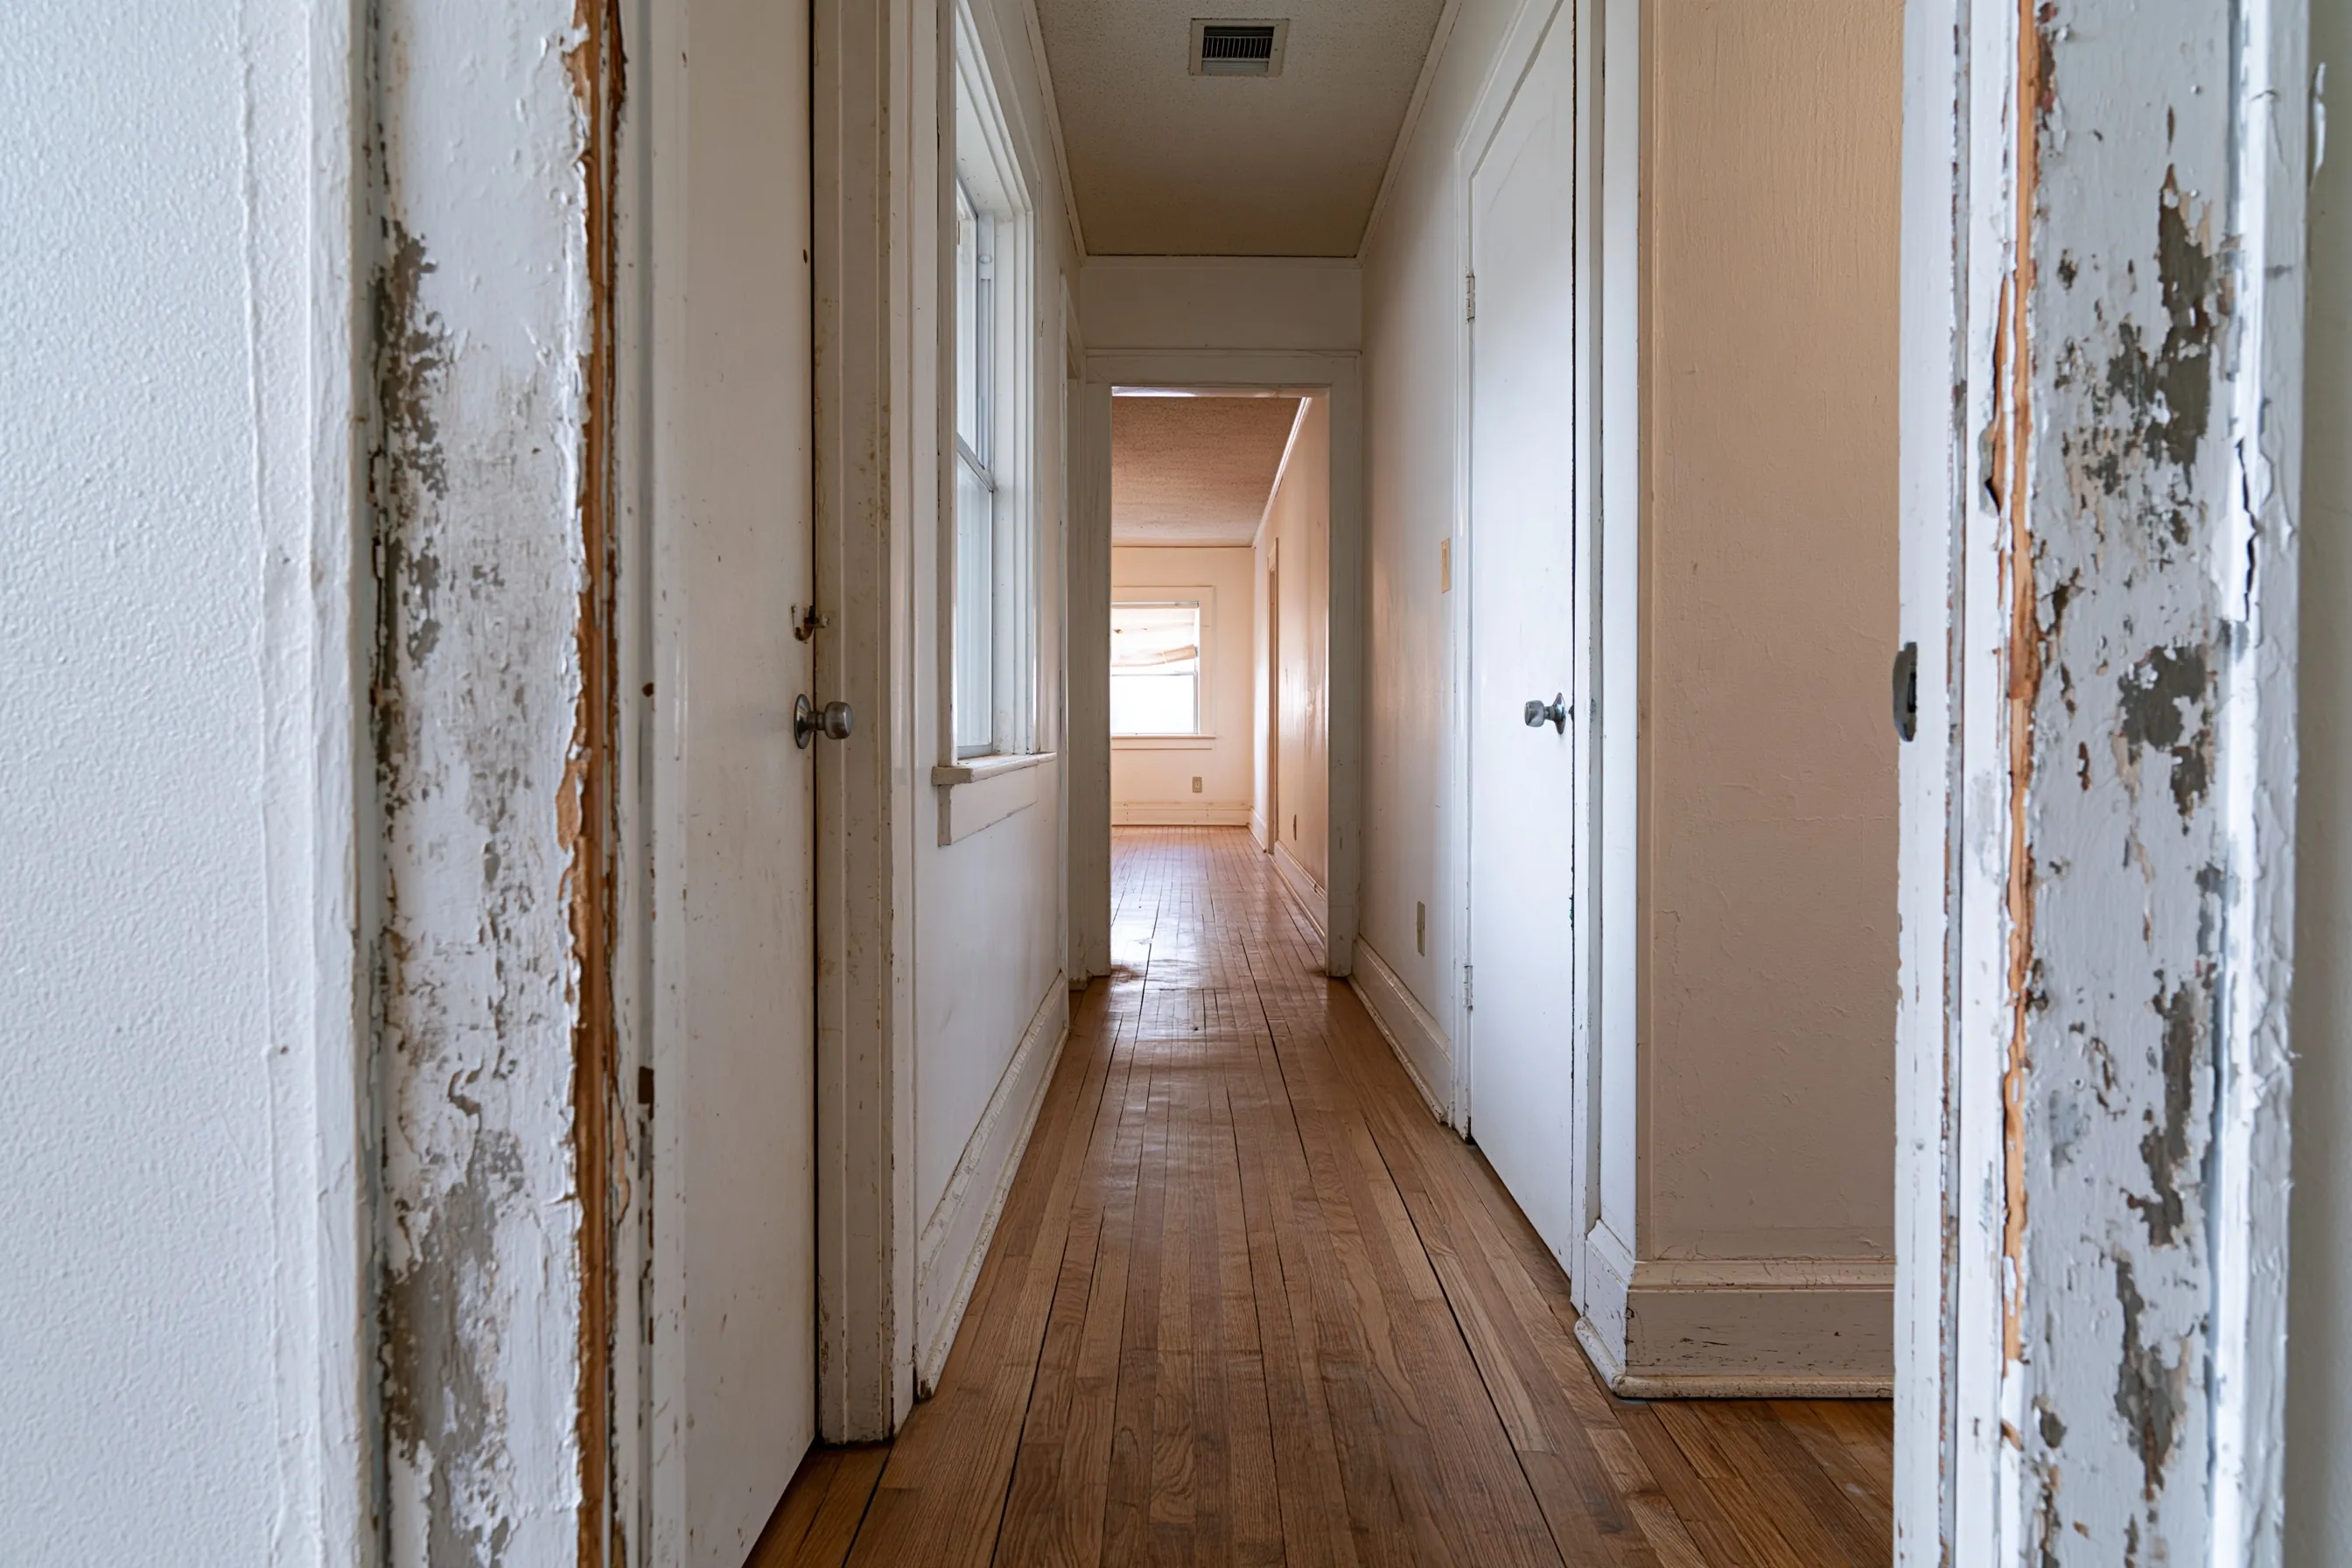
Narrow hall with an oak floor and two door frames in front worn through their paint to bare wood
Home
1960s single-story house in Euless, about 1,300 sq ft, oak floors
Original request
Stop four hall doors from rubbing their frames and dropping paint chips
Testing
Lead paint on the doors, stops and casings
Work
Doors rehung, rubbing edges planed and stops stripped, then primed and painted
Occupied
The family stays; the hall is closed off while the work runs
Estimated cost
$2,400

Scope of work

Plastic over the hall floor and across the room doorways, four doors taken off, hinges reset, rubbing edges planed with a HEPA-attached tool and the stops stripped, loose paint on the casings misted and scraped, primer and two coats, the doors rehung, HEPA cleanup and a cleaning check. Stripping the whole doors is not part of this price.

Project overview

In this example, the owners of a 1960s house in Euless have four hall doors that stick and rub their frames. Paint chips collect on the oak floor under the hinge side, and a test shows lead paint on the doors, stops and casings.

The doors are sound, so the plan is to make them stop rubbing rather than replace them. Planing a painted edge makes dust, so the hall is closed off and the work is done with lead-safe methods. The lead paint stays on the faces of the doors, which makes this a repair to keep an eye on rather than a permanent fix.

The goal

The goal is four doors that close without rubbing and a hall floor free of paint chips.

Process

  1. Testing Doors, stops and casings tested, and the rubbing points marked.
  2. Setup Hall floor covered and the doorways closed off with plastic.
  3. Door work Doors off, hinges reset, edges planed and stops stripped, loose casing paint scraped.
  4. Finish Primer and paint, the doors rehung, then HEPA cleanup and a cleaning check.

Planning right

  • A door that clears its frame stops making dust. Often that is the cheapest lasting fix.
  • Look under the hinge side for chips each month. Chips there mean something rubs again.
  • Stripping or replacing the doors would remove the lead for good, at a higher price.
  • Keep the test results. They help if you sell or rent the house later.

Get a free quoteMore about lead-painted doors and door frames

Request a free lead paint removal quote

Send the address and the year the building went up, say whether it is rented, owner-occupied or empty, and tell us which rooms or surfaces you have in mind. We'll get back to you soon with an estimate or any questions we have. Estimates are free and there's no obligation.

Call (972) 793-8562

Call (972) 793-8562